A client sent me a photo last month for their website, and I kept getting this “file too large” error no matter what I tried. Didn’t even know resolution was the actual problem at first, just kept re-uploading like an idiot hoping it’d magically go through. Anyway, if you’ve ever googled how to edit the resolution of a picture at some ridiculous hour because a photo wouldn’t upload, print right, or send through email, you’re not alone. This one’s from Arafin Media, covers Windows, Mac, your phone, and a couple of free web tools too. No design background needed for any of it.
What Is Picture Resolution, Anyway?
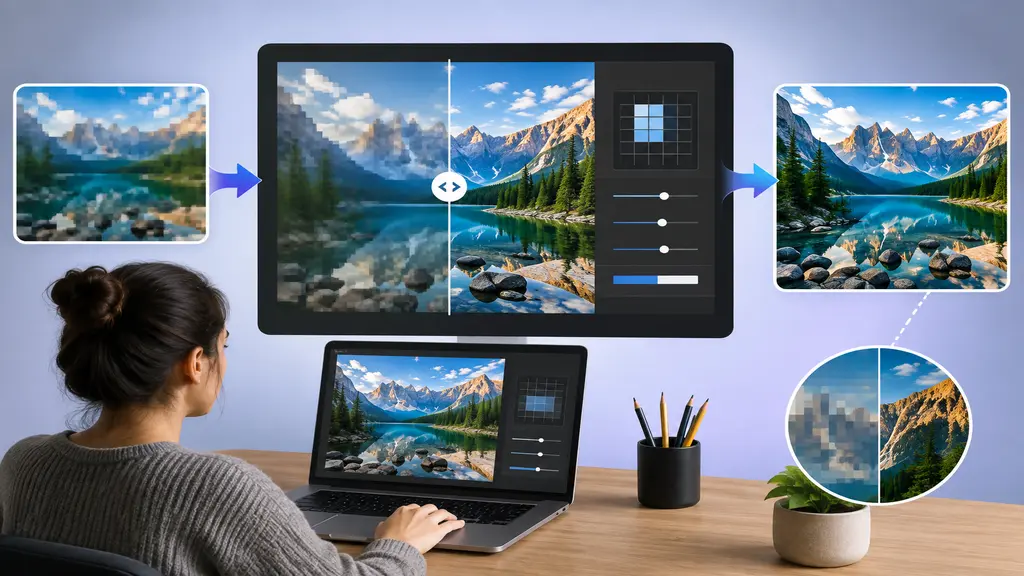
Quick detour before the actual steps. Resolution just means how many pixels are packed into your photo, you’ll usually see it written as width by height, something like 1920×1080. Pack in more pixels and the picture gets sharper, sure, but the file also gets heavier. Go the other way with fewer pixels and you get something lighter and easier to share, though stretch it past a point and it starts looking mushy, sometimes downright fuzzy around edges and text.Honestly this is the whole reason people end up typing how to edit the resolution of a picture into Google at random hours. One day you need it bigger because a print shop rejected the file, next day you need it smaller because your site’s crawling along at a snail’s pace. Neither problem is actually hard to fix, you just need to know which button does what.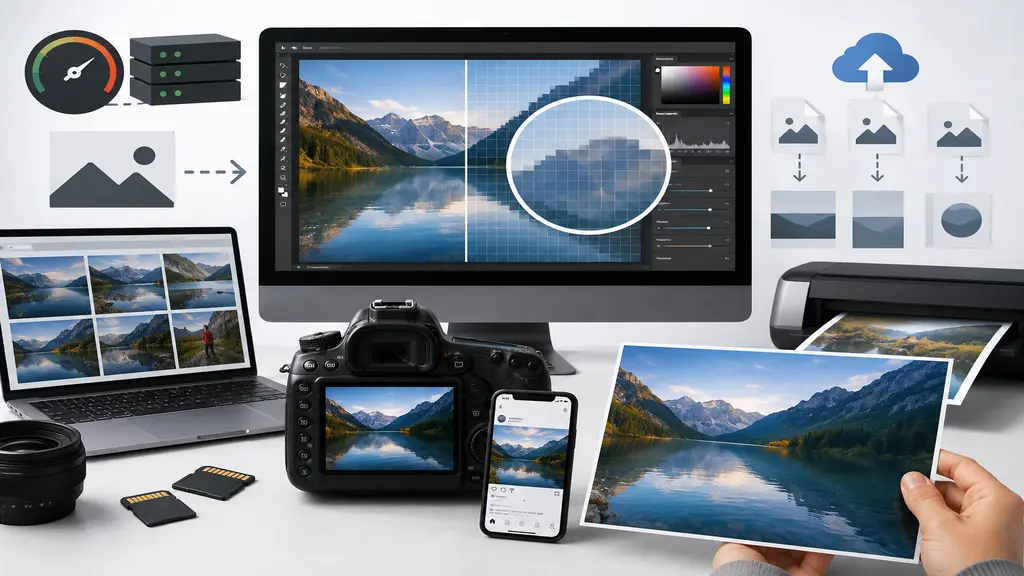
Why Picture Resolution Matters
I used to just ignore resolution settings entirely, figured they were for “serious” photographers with expensive cameras, not regular people uploading vacation pics. Turns out that was a mistake, and a fairly costly one if you’re running a website or trying to get something printed properly. This stuff quietly affects way more than people give it credit for, and most of it only becomes obvious once something’s already gone wrong:- Site speed, mostly. Big high-res images are a huge reason pages load slow, and slow pages tend to rank worse, even if nothing else on the site is wrong.
- Print quality, obviously. Blow up a low-res photo to poster size and yeah, it’ll look rough around the edges, sometimes embarrassingly so.
- Upload limits. Job sites, email, random forms, they all cap file size somewhere, and cutting resolution is usually the fastest way around that wall.
- Social platforms too, since Instagram wants one shape, LinkedIn another, and getting it wrong just means awkward cropping nobody asked for.
How to Edit the Resolution of a Picture on Windows
Nothing to install if you’re on Windows, which honestly surprised me the first time I needed this. Most people assume you need Photoshop or some paid app just to change a photo’s size, but the Photos app that already comes with your computer handles it fine for basic resizing. It’s not going to give you every fancy option out there, but for shrinking or bumping up a picture’s dimensions, it does the job in under a minute.- Right click the picture, “Open with,” then Photos.
- Tap the three dots up top, click Resize.
- Pick a preset, or just type your own width and height in.
- Save it as a copy, don’t touch the original file, you’ll want that later trust me.
How to Edit the Resolution of a Picture on Mac
Preview handles this on Mac, and it’s probably already open on your machine right now anyway since it launches by default for most image files. A lot of people never even notice it can resize photos because it just looks like a basic viewer at first glance. But once you dig into the menu a little, there’s actually a decent amount of control hiding in there, including options that matter a lot if you’re printing rather than just uploading online.- Double click the photo, it opens in Preview automatically most of the time.
- Go to Tools, then Adjust Size.
- If you’re printing, uncheck Resample Image first so the DPI changes without messing with pixel count.
- Punch in your numbers, hit OK, save as a new file.
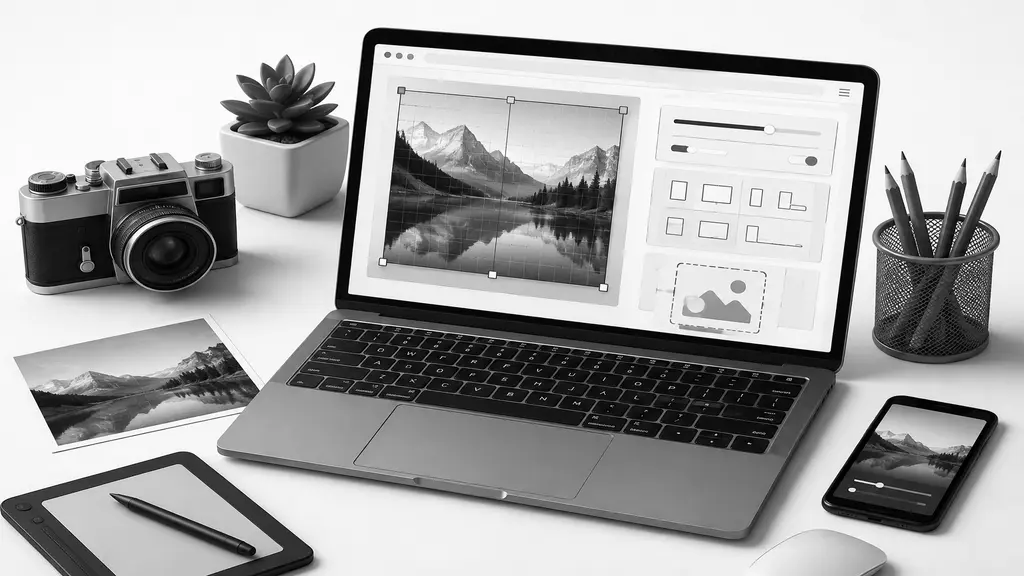
How to Edit the Resolution of a Picture Online, No Software Needed
No computer handy, or just don’t want to install one more app you’ll forget about in a week? Fair enough, that’s exactly what browser-based tools are for. You don’t need an account most of the time, and there’s no waiting around for a download to finish installing before you can actually use it. A few of these are genuinely good enough that I use them over installed software half the time anyway.- Never heard of TinyPNG or Squoosh? Both are solid for web images, they shrink the size down without wrecking how it looks.
- Canva works if you’re planning to slap some text or a logo on there right after you resize.
- iLoveIMG barely needs explaining honestly, upload the file, choose your size, hit download.
- Photopea, basically a free Photoshop clone in your browser, has real DPI controls if you need precision.
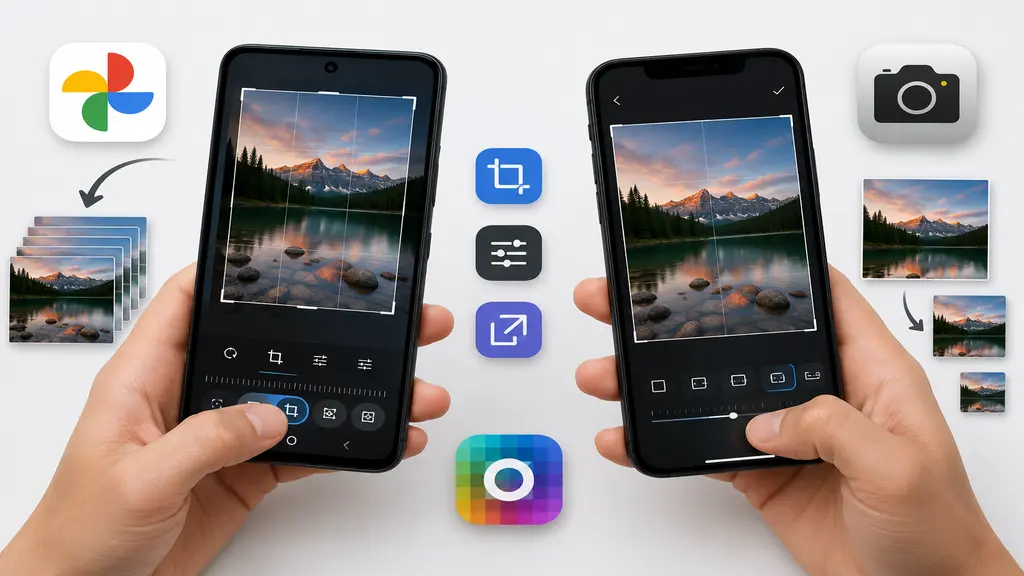
How to Edit the Resolution of a Picture on Your Phone (Android & iPhone)
Most people I know don’t even bother opening a laptop for this anymore, everything happens on the phone these days, snap a photo, edit it, send it, all without touching a computer once. That’s fine for a lot of everyday sharing, but it does mean the resolution decisions are happening whether you notice them or not. Knowing a couple of quick tricks here can save you from sending a blurry or oddly-cropped photo without realizing why it looks off.- Google Photos, crop tool plus export settings gets you most of the way there.
- Dedicated resizer apps exist too, exact pixel input if you need that level of control.
- Even stock gallery apps work in a pinch since cropping changes pixel dimensions anyway.
- One thing to watch for, chat apps like WhatsApp tend to squash resolution the moment you hit send, so if the picture actually needs to stay sharp, send the original file another way instead.
Mistakes That Ruin Picture Resolution (Watch For These)
Most resolution problems come from a handful of the same avoidable slip-ups, honestly the same ones I made plenty of times before figuring this out. None of these take long to fix once you know they exist, but they’re easy to miss if nobody’s ever pointed them out to you before.- Blow a small photo up way past its original size and no detail magically appears, it just turns blurry, there’s really no trick around that.
- Overwriting your original is an easy trap, you’ll want that file back eventually.
- Messing with aspect ratio warps everything, faces get stretched, objects look off.
- Wrong format matters too, JPEG’s fine for photos generally, PNG if you need transparency.
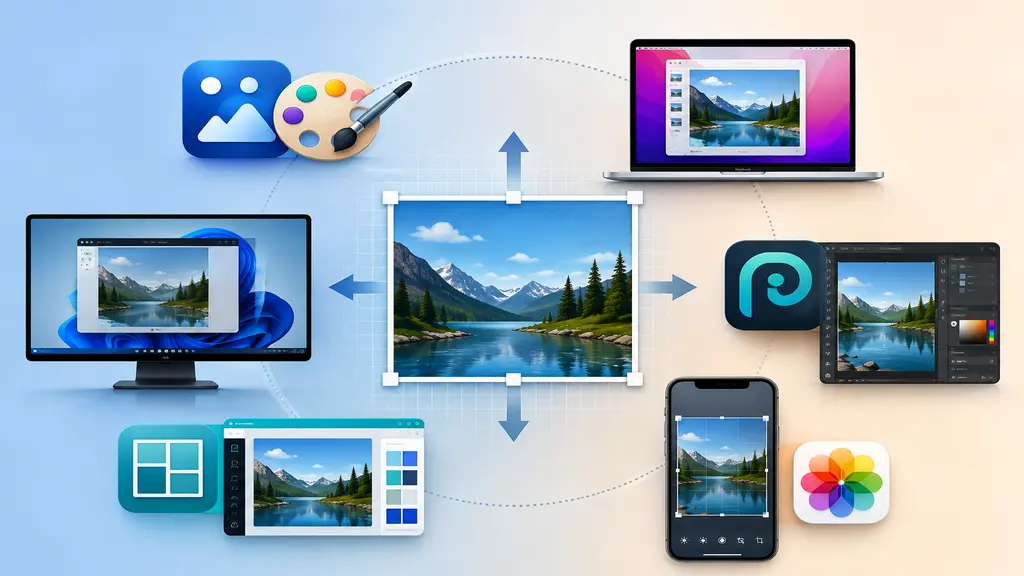
Best Tools to Edit the Resolution of a Picture
If you skimmed straight past everything above and just want the short version, fair enough, here’s the quick rundown. Every option mentioned in this guide works, but which one actually makes sense depends on what device you’re using and how much control you want over the final result. This should help you pick without rereading the whole thing.- Windows Photos or Paint for fast, no-install jobs.
- Mac Preview if you want pixel and DPI control together.
- Photopea for detailed, free, Photoshop-style editing.
- Canva when design matters alongside resizing.
- Mobile apps for whenever you’re away from a computer entirely.