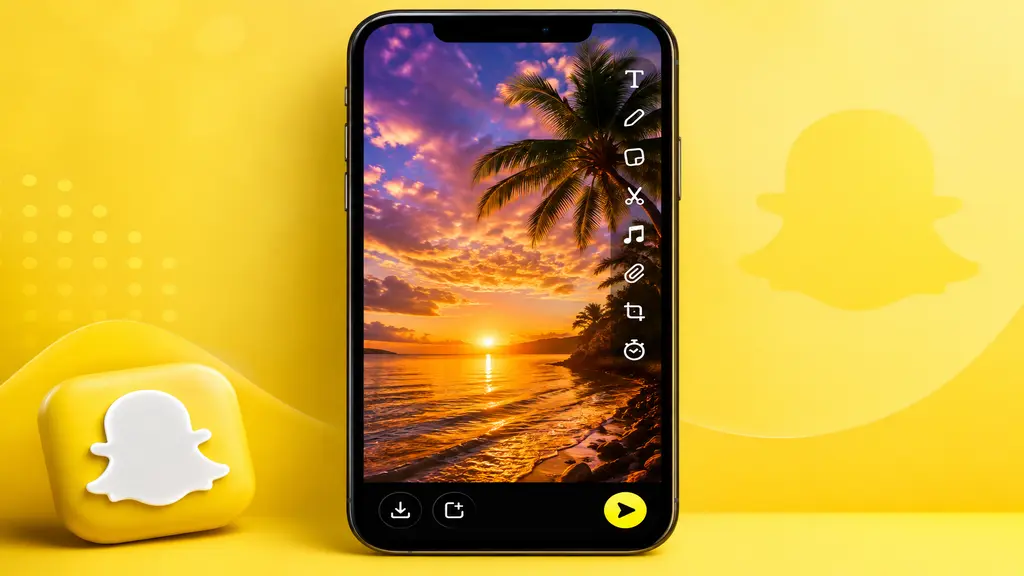
So you just took a snap and there’s this row of tiny icons sitting along the side of the screen. No clue what half of them even do. Same here, honestly, the first few times I opened the app. Type “how do you edit pictures on Snapchat” into Google and you’ll see pretty fast the answer isn’t nearly as complicated as the app makes it look. First time I sat down to actually edit a photo, I swiped way too quick and somehow stacked three filters right on top of each other. Took me a solid minute to figure out how to undo that. That’s kind of the whole deal with this app, though — confusing for maybe five minutes, and then your thumb just gets it. It was never built to be some heavy desktop editor with a hundred sliders. It’s for fast edits, fifteen seconds or so, right before a photo goes off to a friend or lands in your story.
Anyway, Let’s go through the tools, roughly in the order you’d actually use them.
Why Editing on Snapchat Feels Different from Other Apps?
Coming over from Instagram, or from any real editing software, Snapchat’s gonna feel weirdly stripped down at first. That’s normal. Don’t worry about it. If you’re looking for more advanced editing controls than Snapchat offers, you can also learn how to edit blend modes in CapCut. It’s built around your thumb — a swipe, a pinch, a tap-and-hold if you’re pulling up a lens. Takes a minute to adjust if you’re coming from something heavier.
A couple things stand out once you spend actual time in there. Most tools respond to touch instead of menus, so you’re swiping and pinching more than tapping through settings screens, and honestly it feels closer to playing with a photo than editing one in any serious sense. Editing also kicks off the second you take the shot — no separate gallery mode tucked away somewhere. You snap it and you’re already mid-edit before you even realize.
And the app just leans toward creativity over precision, full stop. Don’t go in expecting exact color grading, that’s not really what this is built for. Filters, lenses, playful overlays — that’s the actual point of the thing. Once that clicks, the rest stops feeling like a puzzle.
Getting Started: Taking or Selecting Your Photo
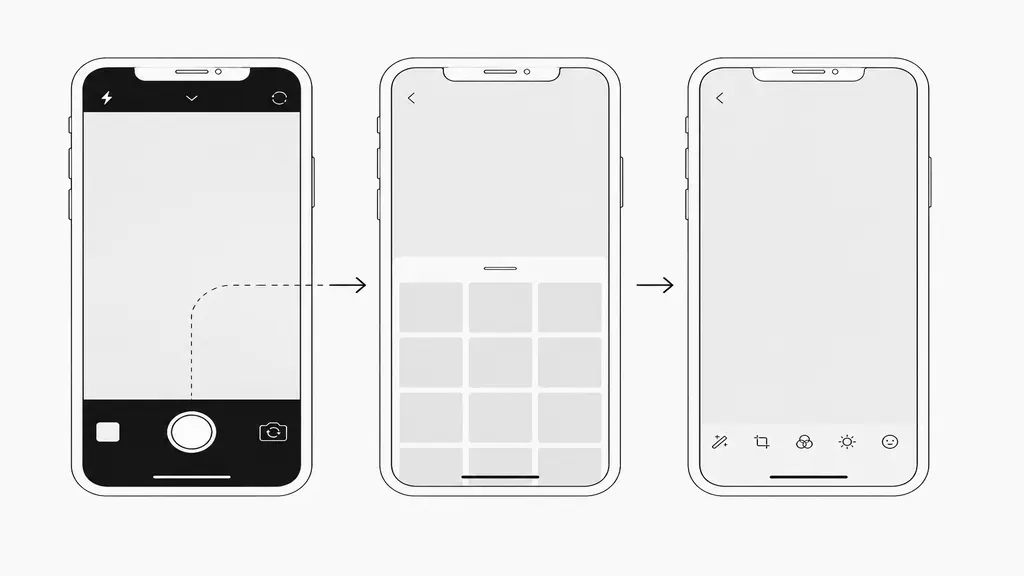
You need a photo on screen first, obviously. Two ways to get there.
One — snap something new. Tap the round button in the middle of your camera screen and you’re on the editing screen almost instantly, no extra steps in the way.
Two — pull something in from Memories or your Camera Roll instead. Swipe up from the camera view, or tap that small square icon bottom-left, then grab whichever photo you want to work on.
I mostly go the second route these days, honestly. Snap a bunch of photos throughout the day without thinking too much, then go back later and pick whichever one actually turned out decent. Saves you from that awkward moment of editing something on the spot while a friend’s standing right there waiting for you to send it over. The system you choose does not really matter much, as the task can be performed flawlessly using either method. Old photos taken long ago open in the exact same editor as photos taken just two seconds prior; consequently, once you are inside the editor, there is no discernible difference.
Either way, you land in the idential place. Editing screen. Full toolbar. Ready.
The Core Tools: How Do You Edit Pictures on Snapchat Step by Step
This is the part everyone’s actually here for, let’s be real. Once a photo’s up, icons run along the top and down the right edge, each doing its own thing.
- Filters: Swipe left or right and they cycle through, warmer tones, brightness bumps, timestamps, location tags, that whole family of effects.
- Stickers: Sit under the square icon top-right. Emojis, GIFs, your own custom stickers too if you’ve made any. Pinch to resize, two fingers to rotate.
- The “T” icon: Gives you text, tap it again once it’s placed to flip through fonts, pinch to size it however you want.
- Pencil icon: Opens the drawing tool. Full color wheel, a few brush styles, decent for circling one small thing you want someone to actually notice.
- A scissors tool: Easy one to overlook. Cuts a piece out of your photo — your face, say — and turns it into a sticker you can reuse down the line.
- Pinch the photo: Pinch the photo to crop or zoom in, and there’s a rotate icon too. If you need more control over image quality or dimensions, you can also learn how to edit the resolution of a picture.
- A timer tool: Though technically that one’s not editing anything at all — it just controls how long a photo stays up once it’s opened. Matters more than most people think.
None of it fights with the rest, either. Stack a filter, a sticker, some text, a doodle, all on one photo at once. No issue.
Using Lenses for a More Advanced Edit
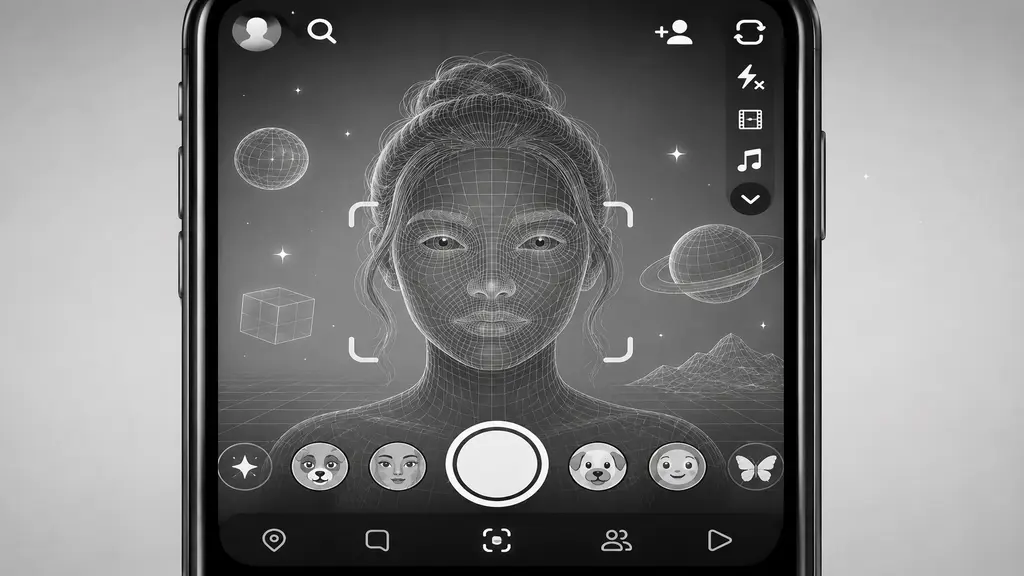
Lenses take things further than any regular filter could. Honestly, this is where Snapchat shows off a little. Instead of just shifting colors, lenses use augmented reality to change your face or your whole surroundings in real time, live, before you’ve even hit the capture button.
Face lenses track how your face moves — everything from light skin smoothing to a full transformation where you barely look like yourself afterward. World lenses work off what’s actually around you instead, dropping 3D objects or animated bits right into the background of your shot. Then there’s the trending carousel down at the bottom, which changes daily. Worth a glance now and then if you like your snaps feeling current. To use one, tap and hold your face, or point the camera outward for world lenses, then scroll around until something looks good.
Fine-Tuning With Snapchat’s Editing Panel
Most people never even find this one, which is kind of a shame, really. After taking a photo, tap the paintbrush icon — or three dots, on some versions of the app — and a more detailed panel pops open.
Brightness and contrast sliders live in there, useful when a shot comes out dark or washed out. There’s a backdrop tool too, which cuts your subject out entirely so you can drop them onto a new scene or a pile of stickers instead. And Bitmoji stickers, built off your own avatar, droppable anywhere on the photo if you want a bit more personality in there. When a shot’s looking flat, this panel’s usually where the fix is hiding.
Saving and Sharing Your Edited Photo
Once it finally looks right, you’ve got a few options for what happens next. Nothing complicated here.
- Save to Memories: Tap the download arrow and it stays stored right inside the app, good if you just want a backup without cluttering your phone’s gallery.
- Save to Camera Roll: If there is an intention to post the photo on Instagram or elsewhere later, then this approach seems more logical, as the photo remains well-preserved outside of Snapchat as well.
- Send it off: Tap the arrow bottom-right, pick a friend or a group, and it’s gone. Quick, no extra confirmation screens or anything.
- Add to your Story: Same arrow, just tap the story option instead, and it sits there for whoever checks it out over the next 24 hours.
One thing worth keeping in mind, though — once a snap’s sent, the other person usually can’t go in and edit it further on their end. So it’s worth one last glance before you actually hit send. Saves you from redoing the whole thing later.

A Few Practical Tips to Get Better Results
Two lighter filters layered together tends to look more natural than one heavy one slapped on top. Go easy with text too — one caption’s usually plenty. More than that and photos start feeling cluttered pretty fast. Save your favourite lenses to your profile so you’re not scrolling the entire carousel every time. And with the drawing tool, try dropping the opacity for subtle highlights instead of thick, obvious lines running across everything.
Small stuff. Adds up, though.
Conclusion
At the end of the day, figuring out how to edit pictures on Snapchat really just comes down to spending some time with tools that are already sitting right there on your screen. Filters, lenses, stickers, text, the drawing tool — there’s more packed in here than it looks like from outside the app. Start simple, get comfortable with the basics, then work your way into lenses and the backdrop tool once that starts feeling natural. Once you’re comfortable editing images, you may also want to explore how to edit a PDF document when working with other types of visual files. Give it a week of just casual use, and editing on Snapchat starts feeling as automatic as taking the photo itself.