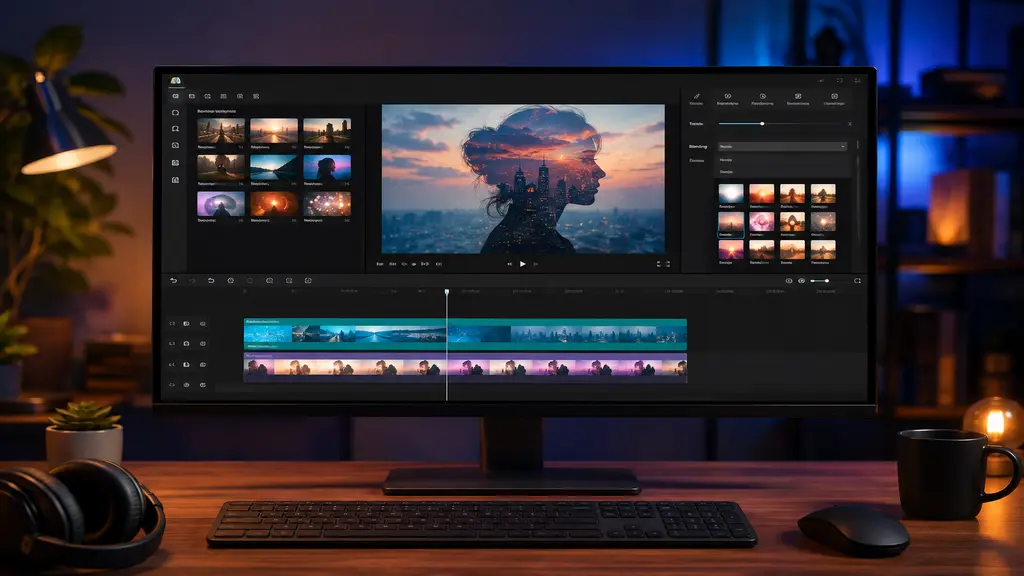
Okay real talk, the first time I opened CapCut PC and saw that “Blend” tab sitting next to Opacity, I just left it alone for like three weeks. Didn’t know what it did. No tooltip explained it, nothing popped up, so I clicked past it every single time like it wasn’t even there. Sound familiar? If you landed here trying to figure out how to edit blend mode in CapCut PC, you’ve probably had that same “what does this even do” moment sitting in front of your timeline. It’s honestly not that deep once you actually mess with it for five minutes. Half the stuff you’ve seen online, those glowing transitions people use, the grainy old-film look, editors dropping one clip over another for that dreamy double exposure thing, a lot of that comes down to this one tab you’ve been ignoring.
What Is Blend Mode in CapCut PC?
So before touching the steps to edit blend mode in CapCut PC, worth knowing what it’s doing when you click that dropdown. Basically it changes how the pixels in your top clip mix with whatever’s sitting right under it on the timeline. Normal setup, one clip just covers the other completely, you never see what’s underneath. Turn blend mode on and that changes, the colors and light from both start reacting to each other instead.My old design teacher used to explain it with two sheets of colored cellophane held up against a window. Depending on how thick each sheet was, the light coming through both of them turned a different color entirely. That’s kind of what’s going on here except CapCut does the math part for you, no Photoshop needed, no After Effects, just the right clip sitting on the right track.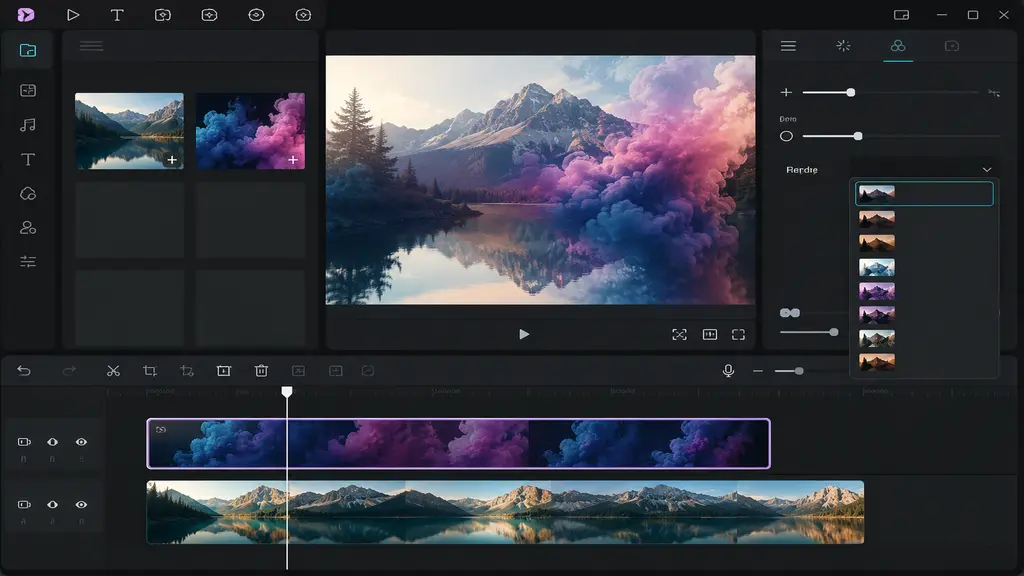
How to Edit Blend Mode in CapCut PC: Step-by-Step
Alright, enough theory, let’s actually get your hands on it. I’m going to walk through this the same way I’d do it on my own timeline, no skipped steps, no assuming you already know where things are. Follow along with your own project open, and you’ll have it down before you finish reading.- Start your project, bring in your footage: Open CapCut PC, new project, and import your main clip plus whatever you want to blend on top.
- Drag that overlay onto a track above your base clip: This part gets people stuck more than anything else. Same track, and Blend won’t even show up, it needs two layers actually overlapping before it registers.
- Click the overlay clip once: Panel opens on the right by itself, nothing extra to do.
- Scroll down till you hit Blend: Sitting right there next to Opacity and Mask, but if you’re moving fast, you’ll blow right past it, happens to everyone the first couple times.
- Open the dropdown, just try something: You’ll get Darken, Multiply, Lighten, Screen, Overlay, Soft Light, Hard Light, Difference, Exclusion. No real trick to picking the right one first try. Mostly just clicking around till something looks decent.
- Drop the opacity if it’s too much: A lot of these look kind of aggressive at 100%. Pull it back to 60 or so, and it usually calms right down without losing the look entirely.
- Keep an eye on the preview while you flip through: Updates live, so bounce between a couple options before you settle on one.
- Export whenever it looks right: Same as always, pick your resolution and format, done.
Best Blend Modes and When to Use Them
Some of these you’ll use constantly. Others you’ll click once, go “huh, weird,” and never touch again. Worth knowing which is which before you waste an hour flipping through nine options on some ten-minute clip.Screen’s usually the first thing people grab for light leaks or spark overlays since it brightens things up without much fuss. Multiply’s the opposite, it pulls stuff darker, so shadow textures or that heavier moody film thing people go for lean on this one a lot. Overlay lands somewhere in the middle, mostly used when your footage came out looking flat and needs a contrast boost. Soft Light barely announces itself, good for when you want colour shifting without anyone really clocking it. Difference is the one that flips colours wherever your layers overlap, and honestly it looks off more than it looks good, but for glitchy experimental stuff it’s exactly right.Reading about it only gets you halfway there anyway. Grab a clip you already have lying around, click through each mode yourself, your eyes will figure out what works way faster than any paragraph could tell you.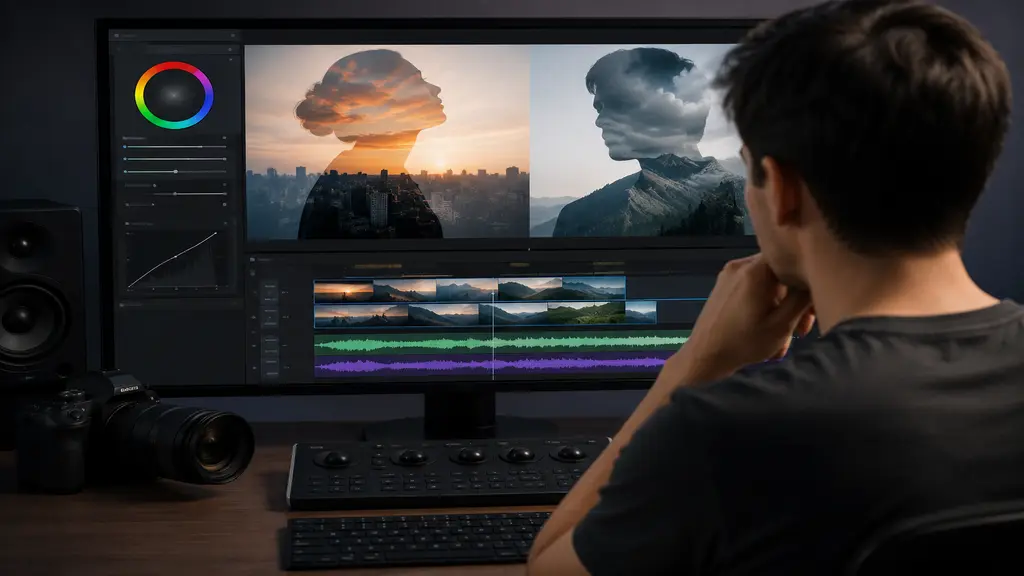
Common Mistakes to Avoid When Editing Blend Mode
Almost everyone trips over the same handful of things starting out. Biggest one, forgetting the layering rule, then sitting there confused why Blend isn’t doing anything. Needs two clips overlapping on separate tracks, no getting around that. Another one, picking a mode because it looked amazing in someone’s tutorial, then slapping it straight onto your own footage without checking first, and daylight footage just doesn’t react the same way as something shot indoors under warm lighting.People also leave opacity parked at 100% out of habit, which almost always ends up looking harsh, so nudging that down solves more than switching modes entirely usually does. And Difference or Exclusion, fun for a couple seconds, but running them across a whole video instead of one moment gets old fast.Tips to Get Professional Results
Honestly, none of this stuff is complicated once you actually sit down and try it. It’s more about a handful of small habits than any big secret technique, and once they become second nature you’ll notice your edits looking cleaner without even thinking about it. Here’s what’s worked for me and what I’d tell anyone starting out.- Match up the color temperature between your layers before you even open Blend. Clashing tones just don’t blend clean, doesn’t matter which mode you throw at it.
- Pair the blend with a mask if you only want it hitting part of the frame instead of the whole shot.
- Throw in a short fade around the blended part so it doesn’t just pop in out of nowhere.
- Test it on five or ten seconds first before rolling it across the whole timeline. Fixing a small mistake takes seconds. Fixing a whole project doesn’t.